Tag Archives: baking

Russian Black Bread

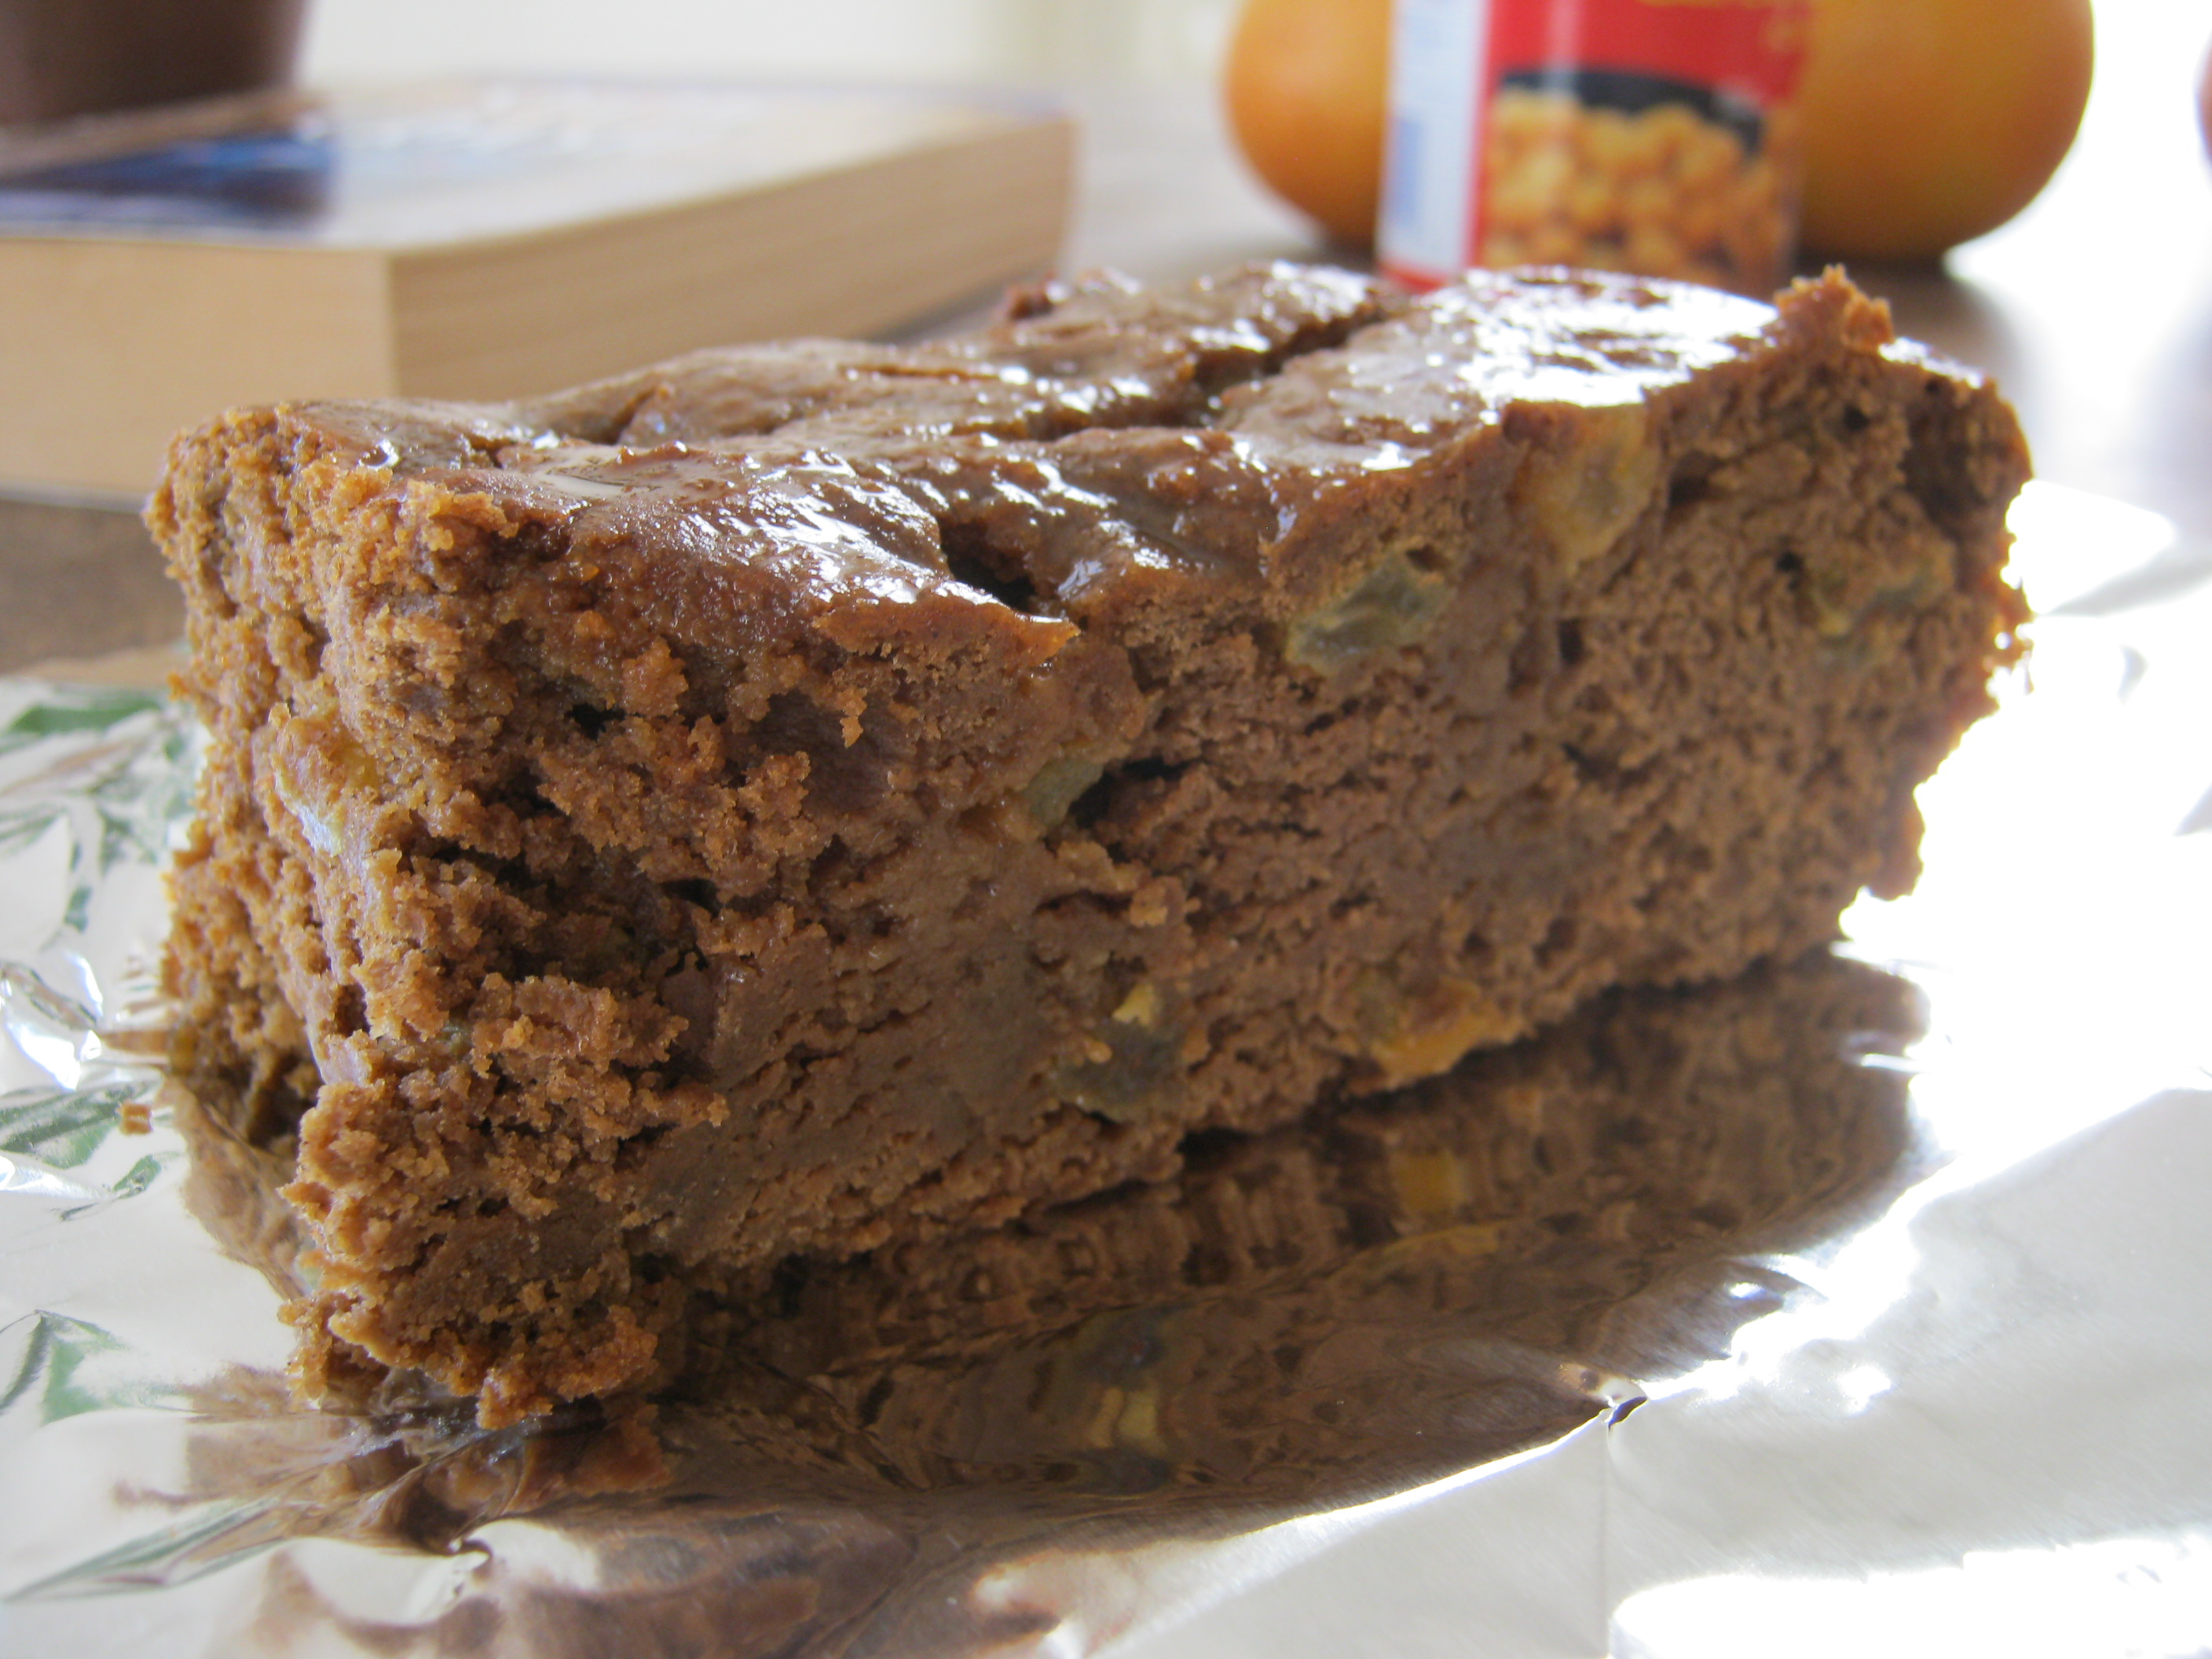
I tried this out over the long weekend. It’s delicious and has a tender texture (which is a problem I’ve had in the past with whole grain breads). The flavor is robust, so you’ll want to pair it with a topping that can hold up to it. No strawberries and cream here. So far I’ve tried it with sharp cheddar cheese and peanut butter, both to great success. I think it would make a fantastic Reuben.

The recipe is adapted from Allrecipes.

  • 1 1/2 cups water
  • 2 tablespoons molasses (Original recipe calls for corn syrup. I highly recommend the flavor of the molasses.)
  • 2 teaspoons (1 packet) baking yeast
  • 1 cup rye flour
  • 2 1/2 cups bread flour (I used whole wheat.)
  • 2 tablespoons cider vinegar
  • 1 teaspoon salt
  • 1 tablespoon brown sugar
  • 3 tablespoons unsweetened cocoa powder
  • 1 teaspoon instant coffee
  • 2 tablespoons butter
  • 1 tablespoon caraway seed and 1/4 teaspoon fennel seed (I left these out. Depends on whether you like the flavor of caraway and fennel.)

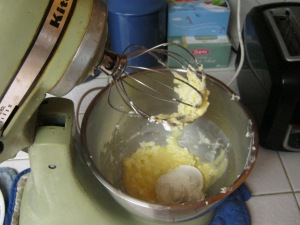
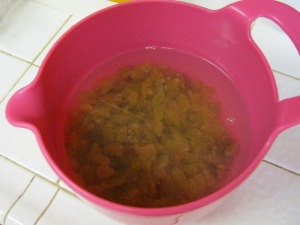
Warm 1/2 cup of the water to about the temperature of a bath. Add the yeast and molasses and set aside.

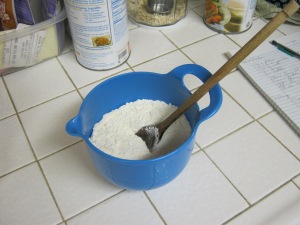
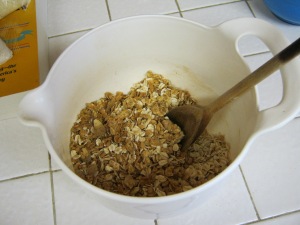
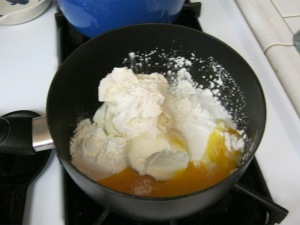
Mix all the other ingredients except the butter together in a bowl. Just stir ’em together.

Check that the yeast molasses mixture is bubbly. Mix it into the dough. Move the dough from the bowl to a cutting board and knead until you get bored of kneading it. (The Allrecipes recipe called for 10 minutes kneading. Not going to happen.)

Soften the butter (carefully!) in the microwave and knead it into the dough. Knead for a few more minutes. Then move the dough to a fresh, greased bowl, cover with a towel, and set in a warm place for about an hour.

The dough should have expanded in volume. Punch it down, roll it into a ball, and put it in a greased loaf pan. Let it rise for another half hour.

Bake at 400ºF for about 25 minutes. When done, the underside of the bread should sound hollow when you tap it.

20150524_130838Enjoy!

20150524_130815

Shrove Tuesday Buns

I’ve gotten interested in Scandinavian baking ever since making that lemon almond streamliner cake a couple months ago. Scandinavian desserts are filled with almond paste, fruit, and whipped cream – how could you go wrong? I ran across this particular recipe while I was browsing at a bookstore. The book would have been something like $25, so I went home and looked up a recipe on the Internet.

Shrove Tuesday is the last day before the beginning of Lent. Lots of European societies would use up all the sugar and fat in the house before beginning their Lenten fasting (it’s the same thing as Fat Tuesday). These buns are appropriately rich and over the top. And they’re delicious.

This recipe is an adaptation of the recipes found here and here.

The Buns

  • 1 packet dry yeast
  • 1/4 cup water
  • 2/3 cup heavy cream
  • 2 eggs
  • 1/4 cup sugar
  • 1/4 teaspoon salt, 1/2 teaspoon cardamom
  • 3 cups flour (I used 2 cups all-purpose and 1 cup whole wheat. You can also use 3 1/4 cups all-purpose.)

The filling

  • 6 oz (one tube) almond paste
  • A few tablespoons of cream. Thin it with milk.

Mix the water and the cream and microwave it until it’s slightly warm. Add the yeast and set aside.

Mix together the flour, sugar, salt, and cardamom in a large bowl. Beat the eggs slightly, then add the eggs. Check that your yeast/cream mixture is bubbling, then mix it in.

The mixture will make a sticky dough. Knead it for about 5 minutes. Then roll it into a ball, cover it with a kitchen towel, and leave it in a warm place for about an hour.

(I used xylitol instead of sugar in this recipe, and at this point I discovered that yeast doesn’t like xylitol very much. I came back to my dough to find it had risen an anemic amount. I added a pinch of baking powder and the buns turned out fine.) Anyway, if you weren’t like me and used regular sugar in your recipe, you should find that your dough has doubled in volume. Punch it down and roll it into 10 balls. Put the doughballs on a greased baking sheet. Cover with a towel and put them back in that warm place for another hour.

Set your oven to 400º F. Bake buns for 10 minutes at 400º and let them cool. They’ll look like this:

20150509_133738

Once they’re cool, slice the tops off the buns as if you’re making lids. Scoop out the insides of the buns with a spoon. Set the crumbs aside in a bowl. You’ll get something reminiscent of those San Francisco sourdough bowls:

20150509_182717

Chunk up the tube of almond paste into the bowl of bread crumbs. Mash them up together, gradually adding milk and cream, until the texture is, well, gloppy. But not so wet that it’ll soak through the buns. Use a spoon to fill the buns up to the brim with the filling.

You probably bought the heavy cream in a half pint, right? Good. Beat the remaining cream with a mixer until it forms stiff peaks. Spoon the whipped cream on top of the filled buns. Perch the lid on top of the mound of cream.

20150509_184613

20150509_184623Enjoy.

Lemon and Almond Streamliner Cake

I first learned about this cake on Hummingbird High. Michelle, the blogger, started the post off with “You know, some cakes just don’t photograph well…” and she’s right. Lemon and almond streamliner cake doesn’t photo well. it’s beige glop on top of a beige disk. (Though Michelle’s a fabulous food photographer and manages to make it look good anyway.) The frosting looks so goopy in the picture because it’s actually custard. Custard? Used to frost a cake? Cool! The recipe was so unusual-sounding I wanted to try it out. The result? The cake tastes way better than it looks. It’s dense, sweet, and saturated with almond flavor, which contrasts well with the lemon custard on top. So don’t judge this cake by its photos. The following recipe is for what I actually baked, because in some cases I couldn’t get the real ingredients and in other cases I was lazy. Check out Hummingbird High or Google for the real recipe. The Custard

  • zest of 2 lemons
  • 3/4 cup 2% milk (original recipe called for whole milk, my store doesn’t sell whole milk in anything less than a quart.)
  • 1/2 cup sugar, divided into two 1/4 cup portions
  • 4 egg yolks
  • 1/2 teaspoon salt (original recipe called for fine sea salt. To hell with that.)
  • 2 tablespoons cornstarch
  • 1/2 cup lemon juice (that’s about two lemons’ worth)
  • 1/2 cup butter, cut into cubes and cold

The Almond Cake

  • 1 and 1/4 cups all-purpose flour (recipe called for cake flour, didn’t want to buy cake flour just for this)
  • 1 and 1/2 teaspoons baking powder
  • 1/2 teaspoon salt
  • 7 ounces almond paste (recipe called for six ounces, the tube is seven ounces, why not?)
  • 10 tablespoons butter, room temperature
  • 2/3 cup sugar
  • 3 tablespoons canola oil
  • 1 tablespoon vanilla extract (recipe called for 2 teaspoons, I like vanilla)
  • 3 eggs
  • 2/3 cup buttermilk

To make the custard The custard recipe looked tricky, so I got more or less mise en place before I started: IMG_1643
Combine lemon zest, 3/4 cup milk, and 1/4 cup sugar in a saucepan and put on low heat: IMG_1645
While it’s heating, whisk together the 4 egg yolks, the other 1/2 cup sugar, and the 1/2 teaspoon salt. Once they’re mixed, whisk in the 2 tablespoons cornstarch and 1/2 cup lemon juice. The milk mixture should be just barely hot. Carefully mix one third of the milk mixture into the egg mixture. Keep stirring; don’t let the eggs curdle. Return the pan to the heat and pour the egg mixture into the pan, stirring continuously. Keep stirring and cooking on medium-low heat until the custard thickens and bubbles. IMG_1648
At this point, you’re supposed to strain the hot custard to get the lemon zest out of it. I forgot to and I’m glad that I did. The lemon zest adds a nice texture to the final product. Pour the hot custard over the cold butter and stir until the butter melts in. Then chill the custard. It’ll take a couple of hours before it’s ready to frost the cake. To make the cake Preheat an oven to 350ºF. Grease a nine-inch cake pan. Mix together the 1 and 1/4 cups flour, 1 and 1/2 teaspoons baking powder, and 1/2 teaspoon salt. In another bowl, mix the 7 ounces almond paste, 10 tablespoons butter, 2/3 cup sugar, 3 tablespoons canola oil and 1 tablespoon vanilla. Use an electric mixer if you have one. Mix until it it’s light and fluffy. Mix in the three eggs one at a time. Set the electric mixer aside and use a spoon. Carefully add some of the flour mixture to the almond-egg-butter mixture, then some of the buttermilk. Alternate flour and buttermilk until everything is mixed together. (I see instructions to alternate mixing in ingredients in recipes sometimes. I usually ignore those instructions and the recipe comes out fine. This time I followed the directions. If you want to add all the flour, then all the buttermilk, proceed at your own risk.) Pour the batter in the pan and bake at 350ºF for 37 minutes. (The original recipe calls for 45 minutes. It lies.) IMG_1650
Even then, the cake came out darker than I expected. But it came out great when I took it out of the pan and frosted it: IMG_1651
And it was delicious. IMG_1652IMG_1653

Rugelach from Baking With Julia

I was in the mood for baking and wanted to try something completely different. So I tried rugelach, a traditional Jewish dessert. This is Baking With Julia‘s take on the dish, modified so it would be easier to cook in my kitchen.

The dough:

  • 3 sticks butter, room temperature
  • 12 ounces cream cheese, room temperature
  • 1/2 teaspoon salt
  • 1/4 cup white sugar
  • 3 cups flour*

* You can use all-purpose flour. I find that half and half all-purpose and whole wheat flour works just fine and gives baked goods a nutty taste.

The filling:

  • 2 cups dried apricots
  • 1-2 tablespoons lemon juice
  • 1 tablespoon rum (optional)
  • 1/3 cup brown sugar
  • 2-3 tablespoons cinnamon

The topping:

  • 1 and 1/2 cups nuts of your choice (though I don’t recommend peanuts)

Beat together the butter, cream cheese, and salt with a mixer. Beat in the sugar. Switch to mixing with a spoon and gradually mix in the flour. Divide the dough in half and form each half into a rough brick shape (see below). Wrap each brick up tightly and put in the freezer for one hour.

IMG_1435

While the dough’s chilling, prepare the filling and the topping. For the filling, put the apricots in a saucepan and just cover with water:

IMG_1437

Stew the apricots on low heat until they’re just mushy, about 15 minutes. Take off the heat and add the lemon juice and rum. Mash the apricots into a paste. Set aside.

Mix the cinnamon and sugar and set aside.

For the topping, chop the nuts into large pieces. Set aside.

IMG_1436

Once your dough’s chilled, you’re ready to assemble your rugelach. Work with one dough brick at a time. Roll the dough out until it’s a rectangle about 1/4″ thick. Cut the rectangle in half the long way.

IMG_1439

Spread each side with one quarter of the apricot pureé, then sprinkle with the cinnamon sugar. Then roll it up like a jelly roll.

IMG_1440

IMG_1441

At this point, the rugelach are delicious raw. The dough doesn’t contain any raw eggs, either, so you don’t have to feel bad about making off with some of it. Wrap the rolls tightly in plastic wrap and put them back in the freezer for an hour. You’ll have four rolls total.

When you’re ready to bake the rugelach, work with one roll of dough at a time so it doesn’t get too soft. Slice the roll into disks of desired thickness (this will only affect the cooking time.) Put the rolls on a lined baking sheet. I can’t emphasize that enough.

IMG_1442

Sprinkle the disks with the chopped nuts, and if you want, more cinnamon sugar. Bake for 15-20 minutes.

Here’s what they look like when they’re done:

IMG_1443

IMG_1444

Somehow, these rugelach look nothing like the photo in Baking With Julia, and neither my rugelach nor Julia’s look like other pictures of rugelach from the Internet. But they were delicious.

Coconut Cake

Traditionally, coconut cake is lighter than air and sweeter than a marshmallow, which is not what I’m looking for in a cake. I’m looking for a cake that’s got a nice, firm texture, tastes like cake, and also has an intense coconut flavor. After the umpteenth online recipe told me to use boxed white cake mix to make the coconut cake fluffier, I Frankensteined this recipe together out of a couple of non-coconut sources.

Ingredients for the cake:

  • 9″ round cake pan
  • 1 2/3 cup all-purpose flour
  • 2 teaspoons baking powder
  • 1 teaspoon salt
  • 1 stick butter, room temperature
  • 1 cup white sugar
  • 2 eggs
  • 2 teaspoons vanilla extract
  • 1 cup coconut milk
  • 1 cup sweet flaked coconut (did I mention it’s supposed to be coconutty?)

Ingredients for the frosting:

  • 3 ounces cream cheese, room temp
  • 1/2 stick butter, room temp
  • pinch salt
  • 2 cups powdered sugar
  • 2 tablespoons coconut milk
  • 1 teaspoon vanilla
  • 1 teaspoon rum

For the topping, lots more sweet flaked coconut!

.

Set oven to 350° F.

Mix together the flour, baking powder, and salt in a bowl. Set aside. Cream together the butter and sugar. Then, beat the eggs into the butter/sugar mixture. Add part of the flour mixture, stir it in, add part of the coconut mixture, stir, and go on until it’s all combined. Finally add the vanilla and sweet flaked coconut.

Grease the baking pan and pour the batter in. Bake for about 30 minutes, but check on it early! The cake is done when a knife stuck in the middle comes out without chunks of batter on it.

Let the cake cool completely. Meanwhile, making the frosting couldn’t be simpler: put all the ingredients into a bowl and beat the heck out of them.

Once the cake is cool, turn it out onto the plate and frost. Sprinkle flaked coconut on top. Enjoy.

Here’s some photos of the process:

The batter.

The batter.

Frosting the cake.

Frosting the cake.

Place frosting in the middle of the cake and spread outward with a circular motion.

Place frosting in the middle of the cake and spread outward with a circular motion.

My boyfriend asked for please no coconut flakes on his slice, so that's why the cake is half-flaked.

My boyfriend asked for please no coconut flakes on his slice, so that’s why the cake is half-flaked.

A portion of the cake the next morning. This is what it looks like when it's not under crappy artificial light.

A portion of the cake the next morning. This is what it looks like when it’s under natural light.

Grown-up Gingerbread

I always thought I didn’t like gingerbread. Just the word conjures up images of those his-and-hers bathroom signs that you stamp out of dough in kindergarten and slather in royal icing. They’d do a better job as hockey pucks than food items. Then last December, I went to a holiday potluck that opened my eyes. The gingerbread at the dessert table wasn’t a bread or a hockey puck cookie but a cake, rich, dark, and spicy. I tried to find out who’d brought that cake so I could get the recipe, but with no success. So since then, I’ve been searching for a recipe I could use to recreate real gingerbread at home.

The following recipe is a simplification of a recipe I found in an old cookbook at my folks’ house. It’s different from the potluck gingerbread, but just as good.

Grown-up Gingerbread

  • 1/2 cup butter, room temperature
  • 1/2 cup brown sugar, packed
  • 2 eggs
  • 3/4 cup sour cream
  • 1/2 cup molasses
  • 1 cup raisins
  • 3 tablespoons rum
  • 2 cups flour
  • 1 teaspoon baking soda
  • 1 teaspoon cinnamon, 1/2 teaspoon nutmeg, 1/2 teaspoon allspice, 1/2 teaspoon salt
  • 1/2 teaspoon ginger or some fresh grated ginger
  • 1/2 cup apple jelly

Grease a 9″ square baking pan and preheat oven to 350°F.

Cream together the butter and sugar. Beat in the eggs. Mix in the sour cream, molasses, and 1 tablespoon of the rum.

In a separate bowl, mix together the flour, baking soda, spices, and salt.

Add the dry ingredients to the wet, then add the raisins to the whole thing. Scoop the whole thing into the 9″ pan. Bake for 45 minutes in a water bath (see picture below.)

Once the cake’s done, let it cool for 15 minutes. Meanwhile, melt together the apple jelly and the rest of the rum. Once the cake has cooled, poke holes in it and pour the rum jelly glaze on top.

Enjoy!

Pictures:

It'll make a really stiff dough.

It’ll make a really stiff dough.

This is a water bath for baking. Put your pan inside of a bigger pan and add enough water to come about 1/4 inch up the sides.

This is a water bath for baking. Put your pan inside of a bigger pan and add enough water to come about 1/4 inch up the sides.

The finished cake.

The finished cake.

Just poke holes all over it and pour the glaze on top.

Just poke holes all over it and pour the glaze on top.

Check out that squidgy cross section!

Check out that squidgy cross section!

Reverse Engineered Sour Cream Raisin Bars

So, the co-op grocery store in my neighborhood has this really great bakery aisle. They sell brownies and cookies individually wrapped in plastic wrap that they get from a bakery in St. Paul – and these are big fat brownies, covered in peppermint frosting and just as dense and squidgy as homemade ones. Sometimes there’s weird stuff there, like these cookie bars called hobnails and Almond Joy cookies. And every once in a while, if you hit the co-op at just the right time, you can find sour cream raisin bars.

They resemble no other cookie bar I’ve had, really. They have this pudding-like layer in the middle, the bottom is like a cake, and the top is sort of like a granola bar. Out of curiosity and since they don’t have them for sale at the co-op all the time, I decided to try and recreate them.

This is a more complicated recipe than I usually post, but the bars are well worth it.

Reverse-Engineered Sour Cream Raisin Bars

To start this recipe, you’re going to need five bowls.

IMG_11471. Cake Dry Ingredients

  • 1 cup flour
  • 1/2 teaspoon baking powder
  • 1/2 teaspoon cinnamon
  • dash salt

Just stir ’em together.

IMG_11512. Cake wet ingredients

  • 1/2 cup butter
  • 1 cup sugar
  • 1 egg
  • 1/2 cup sour cream
  • 1/4 teaspoon vanilla

Beat together the butter and the sugar until the mixture is creamy (if you don’t have an electric mixer, you can use a pastry blender for this). Then add the egg, sour cream, and vanilla, and mix it up until it’s completely blended.

IMG_1150

3. Raisins

  • 2 cups of raisins

Pour warm water over the raisins until they are completely covered. Set them aside somewhere where they can soak.

IMG_11494. Granola topping

  • 1 cup granola
  • 1 cup rolled oats
  • 1/2 teaspoon cinnamon

Just stir ’em together.

IMG_11485. The Pudding

  • 3 egg yolks (how to separate an egg)
  • 1 and 1/2 cups sour cream
  • 1/2 cup sugar
  • 2 and 1/2 tablespoons cornstarch
  • 1 teaspoon vanilla

Put everything but the vanilla in a saucepan, but don’t turn the heat on just yet.

Now that you’ve got everything set up, you’re ready for the cooking part of the recipe. (Please, have everything set up before you start because this part goes fast!) Grease a 9″ by 12″ baking dish and set the oven to 350°. Add the cake dry ingredients to the wet ingredients and stir just until the lumps are gone. It should be a pretty thick batter, which you spread out in the bottom of the baking dish. Put it in the oven.

The cake needs to cook for about ten minutes, or until the cake in the middle of the pan starts looking dry on top. In the meanwhile, start cooking the pudding. Put the pan of pudding stuff onto medium heat and stir it often. It’ll look like this.

IMG_1154

Keep heating and stirring until it starts to get thick. If you need to take the cake out of the oven and set it aside, go ahead and do that. Once the pudding is thick, drain the raisins and mix them in. Turn off the heat, mix in the vanilla.

IMG_1155

Next, it’s time to assemble the bars. I’m sorry I don’t have any pictures of this, but I was working fast. Take half of the granola mixture and sprinkle it onto the cake. Then put dollops of the pudding around the pan on top of the granola. Very gently, spread the dollops out so they make an even layer. Sprinkle on the rest of the granola mixture and pat it in.

Now you’re ready to bake!IMG_1157

Everything is already fully cooked at this point, so all you really need is for the flavors to meld and for the granola to get toasty brown and delicious. I found 20 minutes worked well.

Let the bars cool before you try to slice them. When it’s all done, here is what you get:

IMG_1162Enjoy!

Plum Upside-Down Cake

It’s midsummer and plums are cheap right now, so I decided to do a baking experiment.

This is plum upside-down cake, which is pretty much pineapple upside-down cake but with plums.  The principle seemed like it would be the same: lay some fruit in the bottom of the pan, pour cake batter on top, cook then flip, so I decided to take James Beard’s general recipe for upside-down cake and play around with it.  Oh, yes, the experiment was a success.  This cake didn’t last very long in my apartment.

.

Plum Upside-Down Cake (Adapted from James Beard)

Fruit part:

  • Four medium-sized plums
  • 2 tablespoons butter
  • 1/8 cup brown sugar

Cake batter:

  • 1/4 cup butter
  • 1/2 cup brown sugar
  • 1 egg
  • 1 cup flour (JB calls for cake flour, but mine turned out fine with all purpose)
  • 1 teaspoon baking powder
  • 1/4 teaspoon salt
  • 1/4 teaspoon allspice and 1/4 teaspoon ground cloves (or use cinnamon or ginger or whatever spices you like)
  • 1/2 teaspoon vanilla
  • just over 1/3 cup of milk

Preheat the oven to 350º.  Wash the plums and slice into wedges.  Remove pits.  Put the 2 tablespoons of butter in the bottom of a 9-inch round baking pan, then put the pan in the oven just long enough for the butter to melt.  Take the pan back out, then sprinkle the brown sugar over the bottom.  Lay the plum wedges in the bottom of the pan (you can do it decoratively if you want).

Cream together butter and sugar until fluffy, then beat in the egg, then mix in vanilla.  In another bowl, mix flour, baking powder, salt, spices.  Add part of the flour mixture to the butter-sugar mixture and mix, then the milk, then the rest of the flour mixture.  Mix only just enough so that everything is combined.

Pour the cake batter into the pan, over the plum wedges.  Gently press the batter into the edges of the pan so it’s well-distributed.  Bake for 30 minutes or when cake in the center of the pan is springy and not wet.  Take the cake out of the over and let it cool before you try to flip it out of the pan!

Once the cake is quite cool, put a dinner plate on top of the pan and hold the edges of pan and plate together firmly.  Flip.  Once it’s upside-down, if the cake’s not coming out of the pan, you can whack it against a countertop.  If all goes well, you will have a cake with lovely wedges of plum laid into the top.  Enjoy!

Cookies that Wound Up Being Cake

Don’t ask me how this happened.  I followed the recipe for a batch of bar cookies – a recipe that I’ve used before, mind you – and the dough came out as dry and crumbly as pie crust.  Did an extra cup of flour sneak in while I wasn’t looking?  I added some milk to moisten it up, and somehow the result was sheet cake.  It was tasty sheet cake, though.

Is it a bar cookie?  Is it cake?

Cake

  • 1 cup butter
  • 1 cup white sugar
  • 1 cup brown sugar
  • 2 eggs
  • 2 tsp. vanilla
  • 1.5 cup white flour
  • 1.5 cup whole wheat flour
  • 1 tsp. baking soda
  • 1/2 tsp. salt
  • milk as needed

Frosting

  • 1 tbsp. butter
  • 1 cup chocolate chips
  • 3 cups marshmallows

Preheat oven to 350°.  Cream together butter and both sugars, then stir in the eggs and the vanilla.  In a separate bowl, mix together the baking soda, salt, and flours, then add to the butter/sugar/egg mixture.  Stir in mix-ins as desired (I used baker’s chocolate and shredded coconut.  Or you could do chocolate chips.)

Bake at 350° for about 45 minutes.  Poke the middle of the cake and see if it’s springy.  Let cool completely.  Then combine the three frosting ingredients in a bowl and microwave until melted, stir, and spread on top of cake.  Let that cool, then enjoy!

Cookie Bars with Added Frosting

I love cookie bars.  They’ve got all the flavor of a cookie, but since they’re cooked in a dish and not all exposed to the air, they’ve got all the squidginess of brownies.  A perfect combination.  So when my birthday came up and I had an excuse to bring something baked in to work, I went with Cookie Madness’s Big Batch Chocolate Chip Bars.

But when they came out of the oven, they looked a little sad and lonely:

I couldn’t decide what to do about it, until at the last minute I decided to frost them (and was almost late to work because of it).

Much better.

The recipe that follows is mostly the same as the one on Cookie Madness, but I used the half recipe.

Big Batch Chocolate Chip Bars

  • 4 oz (one stick) butter
  • 1/2 cup white sugar, then another 1/8 cup
  • 1/2 cup brown sugar, packed
  • 2 eggs
  • 1/2 tbsp vanilla extract
  • 1 3/4 cup all-purpose flour
  • 3/4 tsp baking soda
  • 1/4 tsp salt
  • semisweet chocolate chips to taste (keep adding them until the dough looks chippy enough)

Preheat oven to 350º.

Then it’s the usual cookie routine: Mix dry ingredients in one bowl.  In another, cream together butter, white sugar, brown sugar.  Mix in eggs, then vanilla, then dry ingredients.  Stir in chocolate chips.  Spread into a greased 13×9″ pan.  Bake about 20 minutes (but check on it!).

For the frosting:

  • 2 cups chocolate chips
  • 3 cups marshmallows
  • 3 tablespoons butter

Microwave all three ingredients together in a bowl until melted, stir.  Pour on top of cooled cookie bars and spread with spatula.